Configure NetBox OIDC SSO with Authentik
In the not-too-distant past, if you wanted SSO with NetBox, you had to configure reverse proxy authentication (e.g. using auth_request in nginx or oauth2-proxy) and pass in the user details using Remote-User headers. This solution works but, depending on your situation, could add quite a lot of complexity and potential pitfalls.
NetBox 3.1 introduced support for SSO providers via python-social-auth which is fantastic, but integrating this into Authentik was an absolute pain so here’s how I got it working to save you the trouble.
Create your OIDC Provider
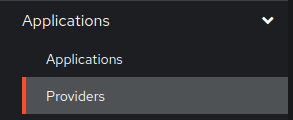
- Click on Applications -> Providers in the Authentik admin UI
- Click create and select OAuth2/OpenID Provider

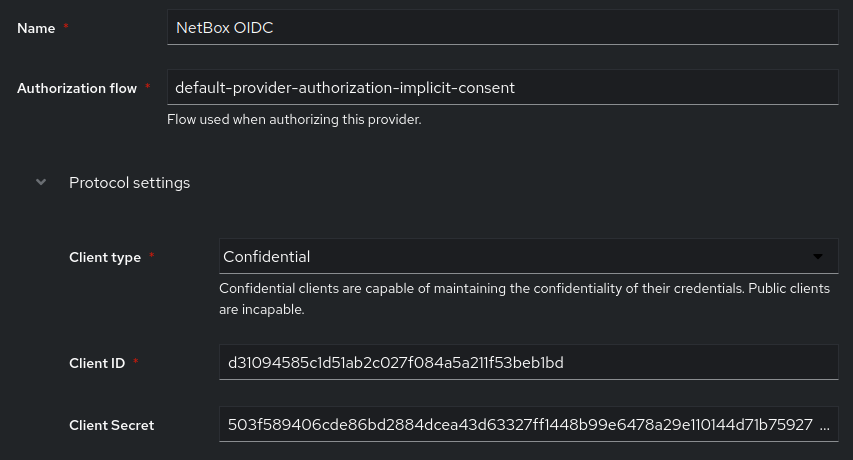
- Give it a meaningful name, I would usually name something like this “NetBox OIDC”
- Select an authorization flow, if you’re relatively new and are using the out-of-the-box flows, the implicit consent flow is likely what you want
- Leave Client type set to Confidential
- Note down the client ID and secret
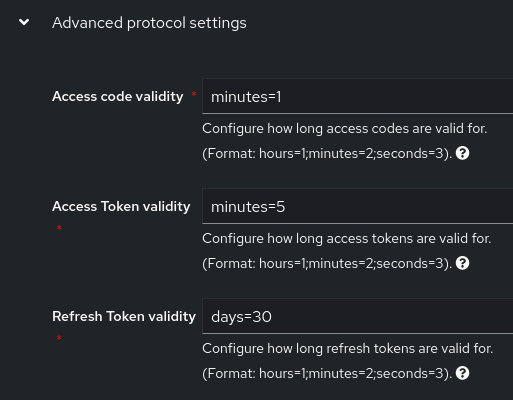
- (Optional) I would recommend raising the access code and token validity in the Advanced settings as the defaults are rather aggressive
Create the application in Authentik
- Click on Applications -> Applications in the Authentik admin UI
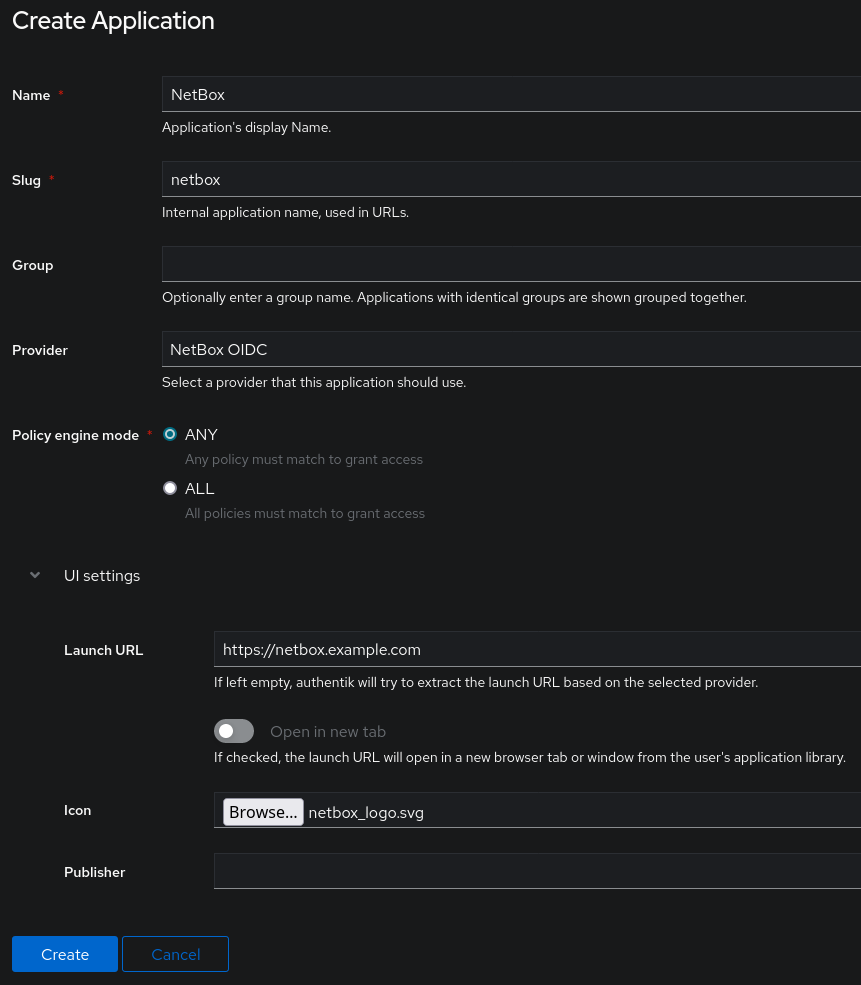
- Click on Create and name your application
- Note down the slug you use or at least make it something simple (like “netbox”)
- Associate it with the provider you created just before
- (Optional) You can grab an SVG of the NetBox logo here
Configure NetBox
For the sake of adding some background, the python-social-auth library is dependant on a component called social-core which is where the actual social backends live. There is no proper implementation of the Authentik backend but it does offer a generic OIDC backend (source) that we can take advantage of.
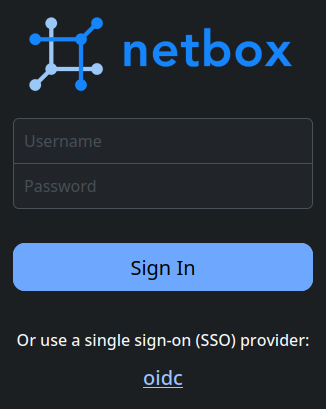
Caveat emptor: The SSO link will appear as “oidc” on the NetBox login page because the generic OIDC backend has this baked in as its name. Aside from changing the source code or extending the class to create a proper Authentik implementation, I cannot see a way to change this.
- Open your NetBox
configuration.pyfile in your editor of choice - Add the following lines
1REMOTE_AUTH_BACKEND = 'social_core.backends.open_id_connect.OpenIdConnectAuth'
2SOCIAL_AUTH_OIDC_OIDC_ENDPOINT = "https://authentik.example.com/application/o/<slug>"
3SOCIAL_AUTH_OIDC_KEY = '<client ID>'
4SOCIAL_AUTH_OIDC_SECRET = '<secret>'
5
6SOCIAL_AUTH_PROTECTED_USER_FIELDS = ['groups'] # Workaround for an issue where social-auth would die with an error when signing in due to a bug. You will have to assign users to groups because of this.
7SOCIAL_AUTH_REDIRECT_IS_HTTPS = True # Forces HTTPS for redirect URIs. Handy if you're behind a proxy and the schema is wrong.- Add
python-joseto yourlocal_requirements.txtfile - Run
upgrade.shto ensurepython-joseis installed - Restart NetBox
Associating existing NetBox users with social users
When a social user logs in, an association is created in the database that ties their UID to the Django user. You can update these associations at https://netbox.example.com/admin/social_django/usersocialauth/ for the purposes of connecting existing NetBox users with their OIDC sign in.